

Guidelines Ruler(s) &
Set Options

Scant ¼” Seam Allowance Tool & Point Trimmer:

|
|||||||||
 |
|||||||||
|
|
|||||||||
|
|||||||||
|
|||||||||
|
|||||||||
|
|||||||||


How to Connect | Set Options | Testimonials

No more wasting time by having to find a line by eye over
and over again or wasting fabric by cutting on a wrong line.
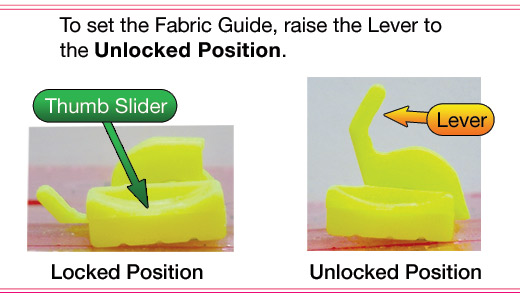
The best way to set the Fabric Guides is to move it back and forth
with your fingers underneath the ruler as shown above. That way
you can feel as it passes over the lines underneath the ruler.
When you get to the measurement line you want, wiggle the guide a little
and press up until you feel it lock fully up into the measurement line.
Then rotate the Locking Lever down to lock it in place.
More on how to set the built-in Fabric Guides on the Ruler:
No More Sticky Tape or Line Markers That Fall Off!


Set Options | Testimonials

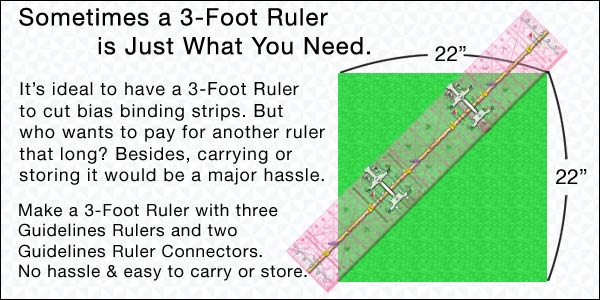
Scroll down to watch the instructional Animation and Video that
show how to connect two rulers or take them apart.
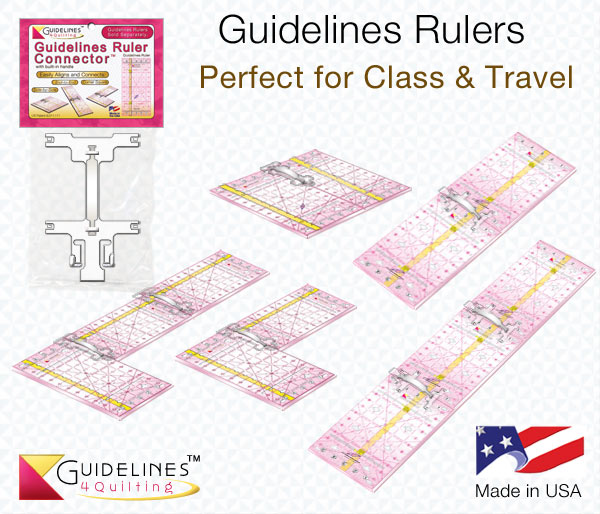
Step-by-Step Instructions:1) Insert the Tabs on the ends of both lower arms on the Connector into the center of the holes in the ruler.
|
2) Push on both arms and slide the Connector to the right until you hear a click to lock it onto the first Ruler.
|
3) Insert the Tabs on the upper arms into the center of the holes in the 2nd ruler. Hold the Connector in place on the 1st ruler and slide the 2nd ruler to the left up against the Lip Edge.
|
How to Take the Rulers Apart:
Squeeze the extensions on the end of the Connector together and slide the top ruler to the right until the tabs are back in the center of the holes.
Then you can lower the ruler and pull it away. Squeeze the extensions again to take the Connector off the other ruler.
Note: Guidelines Connector is for Guidelines Rulers only.
If you want to connect regular acrylic rulers, Click Here for Quilt Ruler Connector.


No nicking the edge of the Guidelines Ruler with a rotary cutter's blade or no chipping its corners guaranteed. Made of Polycarbonate, the Guidelines Ruler is 25 times stronger than acrylic rulers.

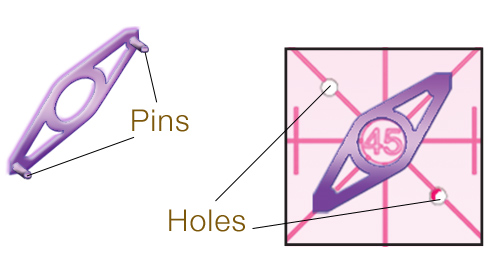
Every Guidelines Ruler comes with an Angle Line Marker.
Insert the Angle Line Marker into the holes around the number (30º, 45º or 60º) for the angle you want to cut. It makes it easier for you to line up to the correct line every time.

![]()